Flipbook view is best for:
Brochures
Booklets
Catalogues
Any multi-page document where page order matters
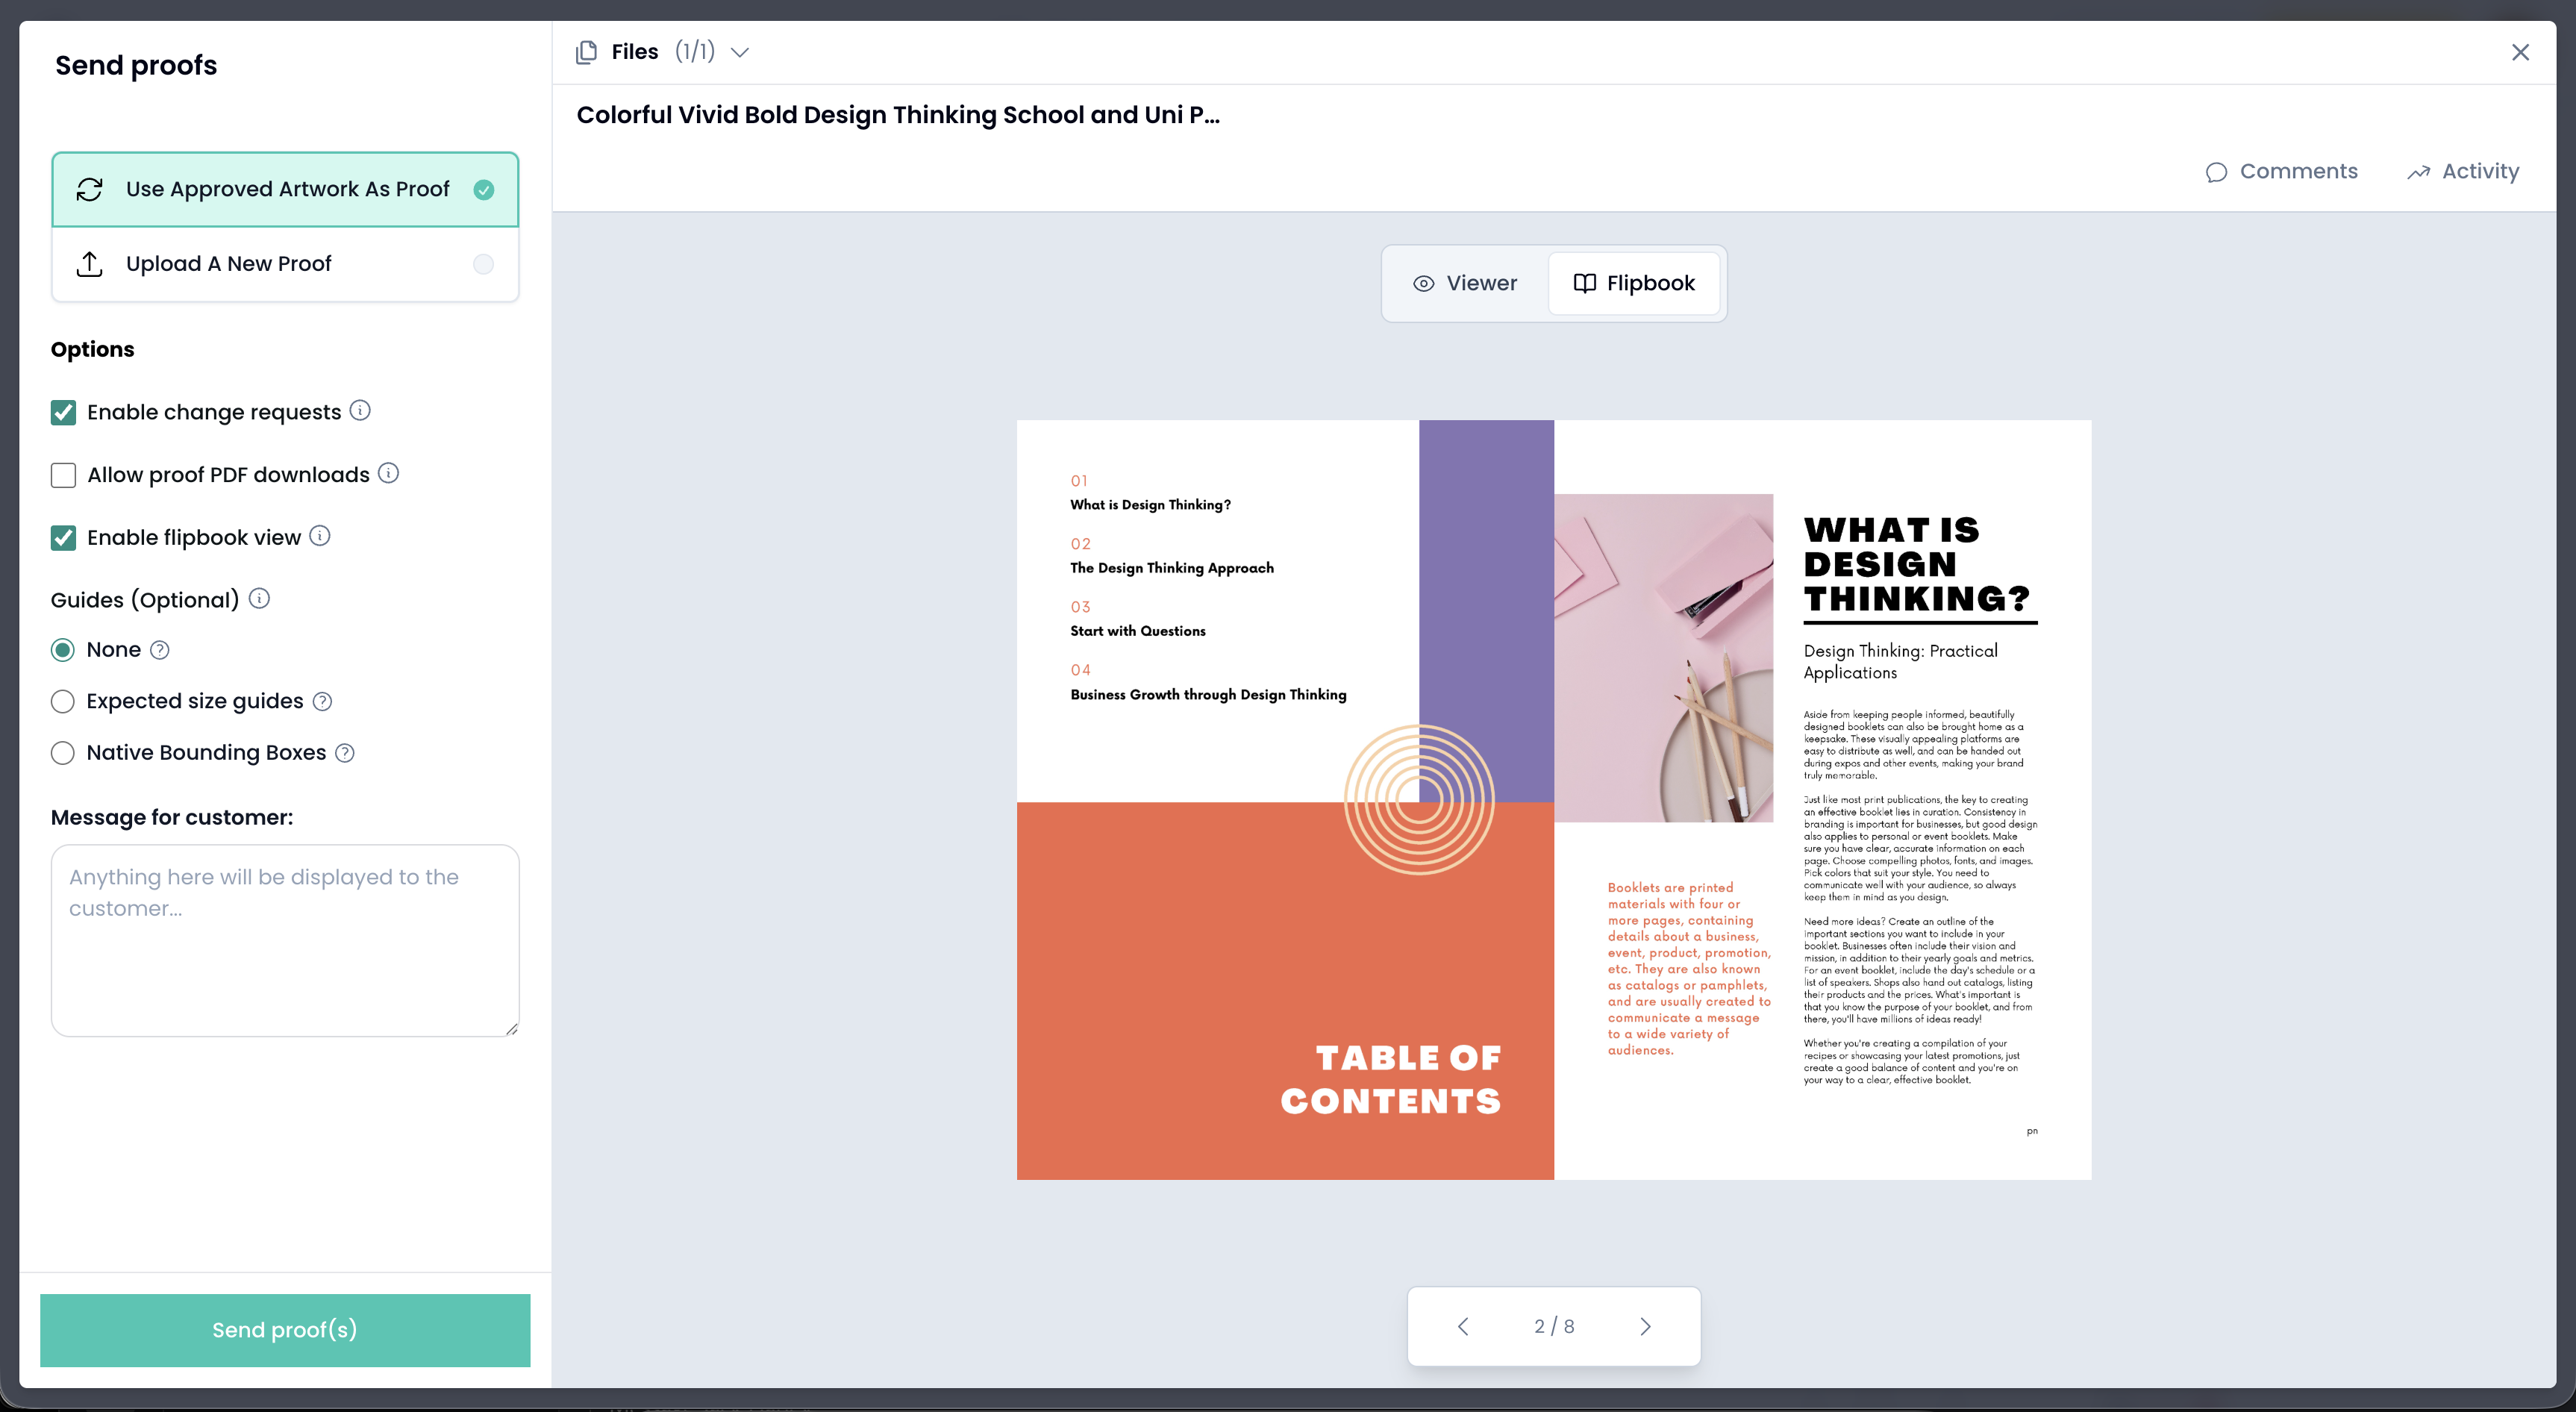
Open the job and go to Send proofs
Upload a new proof or select Use approved artwork as proof
In the Options panel, tick Enable flipbook view
Review the preview using the Flipbook toggle above the proof
Click Send proof(s)
The customer will now be able to flick through pages in order, just like a real brochure.
When generating the flipbook, Artworker crops each page to the trimbox defined in the PDF.
If the trimbox is set correctly, pages will display as expected
If the trimbox is missing or incorrect, the preview may look cropped, misaligned, or wrong
Preview the artwork Artworker
Select View in the top menu
Choose Native bounding boxes
A key appears on the right identifying each bounding box in the PDF.
The key shows the following PDF boxes:
Media Box: full page size
Bleed Box: bleed area
Trim Box: final cut size
Art Box: artwork extent
The Trim Box is the box used for flipbook cropping and is the most important to check.
Enable Native bounding boxes during artwork review
Confirm the trimbox matches the intended finished size
Fix and re-upload the PDF if the trimbox is incorrect
Preview the flipbook before sending it to the customer
This ensures the flipbook preview matches the final printed brochure and avoids confusion during approval.
