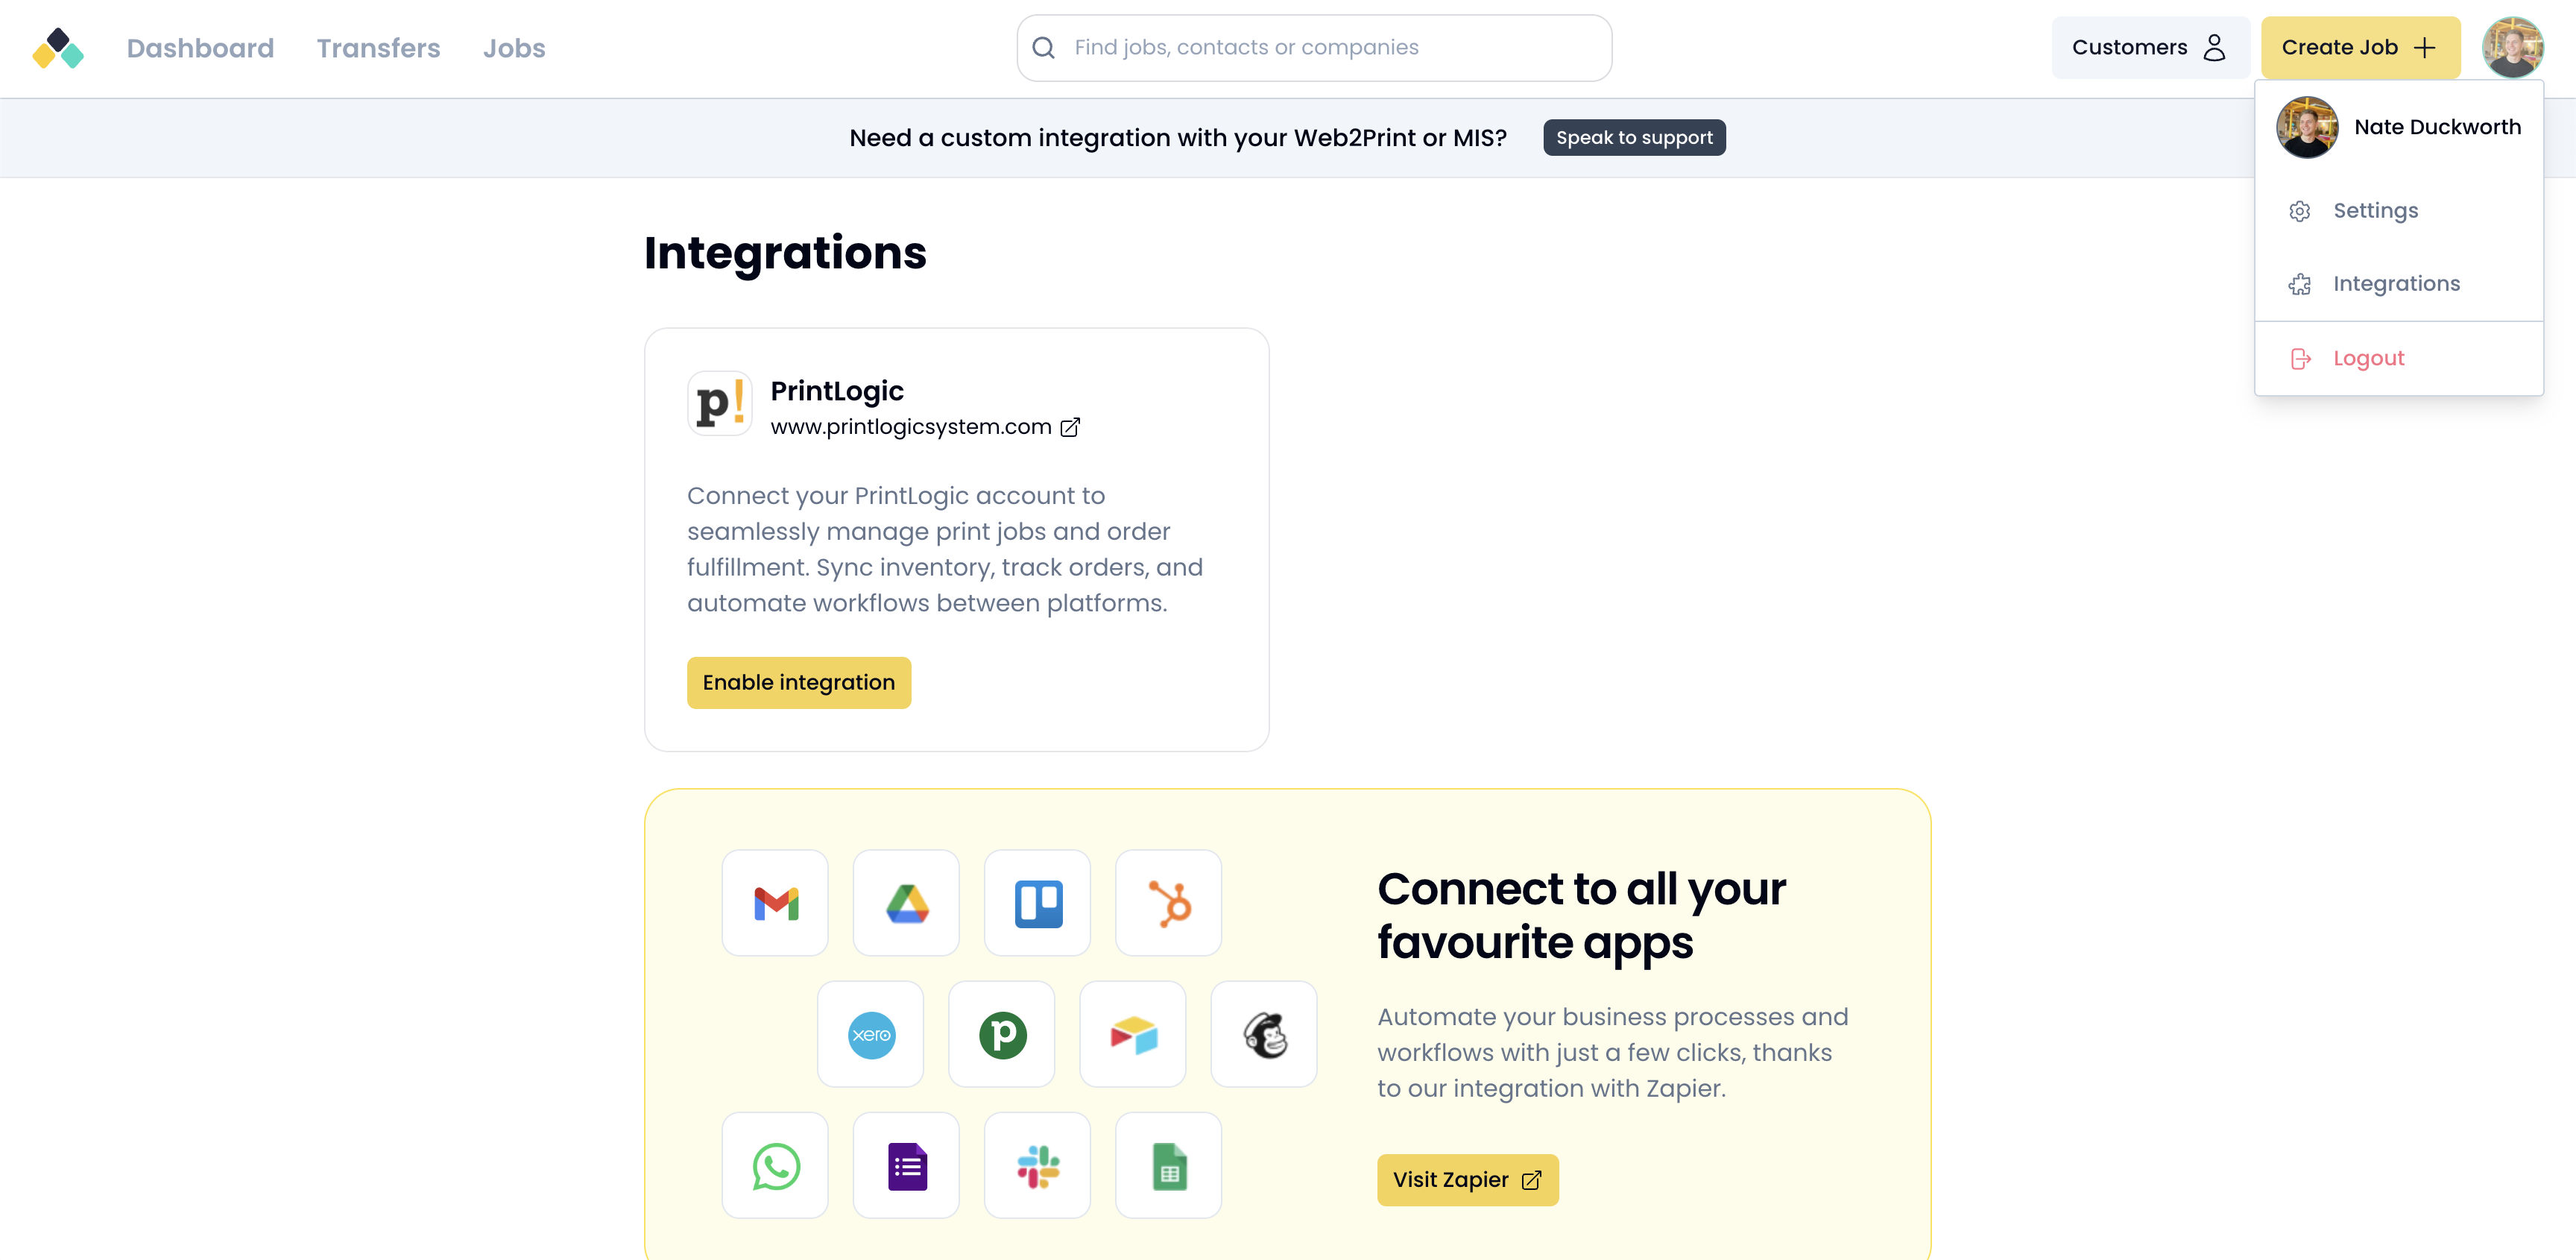
To begin the integration process, head to the Integrations page:
Click your avatar in the top-right corner of your dashboard.
Select Integrations from the dropdown menu.
Or go directly via this link: Artworker Integrations
On the Integrations page, find the PrintLogic card.
Click the Enable integration button.
You’ll be guided through a 3-step setup process:
1. Supply API Key → 2. Setup Trigger → 3. Test Trigger
To link Artworker with your PrintLogic account:
Click the Get PrintLogic API Key button – this will take you to your PrintLogic account settings.
Copy your API Key.
Paste the API Key into the provided field in Artworker.
Click Verify & continue.
✅ Tip: If the API key is valid, you’ll automatically proceed to the next step.
To let Artworker know when new jobs are created in PrintLogic, you’ll need to set up a trigger in your PrintLogic account.
Go to PrintLogic > Setup Panel > Triggers, then click Create Trigger.
In the trigger settings:
Under Trigger area, select: An Order and is created
Under The following should happen, select: Post to an endpoint
Copy and paste the URL we supply into the URL field (copied from Artworker):
In the Body Data field, use:
{"orderId":"order_id","orderNumber":"order_number"} Click Save in PrintLogic (Right sidebar).
Now let’s confirm everything is set up correctly:
In PrintLogic, create a test order (this should trigger the endpoint).
Return to Artworker and tick I have created a test order in PrintLogic.
Click Test trigger with Sample Order.
⏱ This test may take up to 30 seconds.
If successful, your integration is ready to go! 🎉
Click Enable integration to finish.
Your PrintLogic account is now linked with Artworker. New orders created in PrintLogic will automatically create a job in Artworker — no manual data entry needed.
